Your Roadmap to Recovery


Three Steps to a Successful Recovery
Informed Decision-Making: We prioritize comprehensive pre-surgical education (when possible). This empowers you, your family, and friends with the knowledge necessary to approach your surgery with confidence.
Seamless Post-Operative Care: Our commitment extends beyond the operating room. We provide consistent post-operative check-ins and strive to attend your appointments, ensuring clear communication and addressing any concerns promptly.
Building Your Strength: Collaboration is key. We work closely with both inpatient and outpatient physical therapists to develop a personalized rehabilitation plan that maximizes your mobility and independence after surgery.
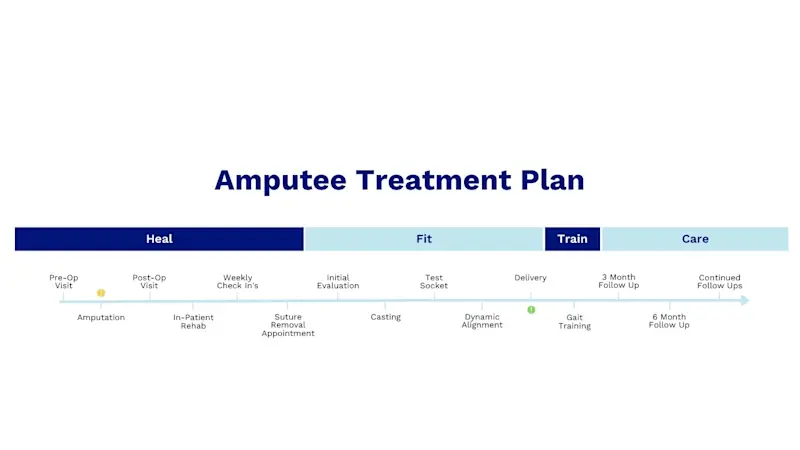
New Amputee Treatment Plan
The prosthetic rehabilitation process is divided into the following stages.
Healing & Education. Following your surgery, you'll embark on a journey of healing and learning. This process will vary depending on your individual needs. During this time, you'll receive all the information and support you need to promote a smooth recovery.
Fitting. This period starts on the day the sutures are removed and you are fit with a compression device (shrinker sock) and continues until the delivery of your prosthesis.
Training. This initial phase involves learning how to control and use your prosthesis effectively. Physical therapy plays a crucial role in this process, helping you regain mobility and develop a safe gait pattern.
Care. During this period, you'll receive training on how to use your prosthesis effectively. In addition to these training sessions, you'll schedule regular appointments with your prosthetist to ensure your prosthesis is functioning optimally. These appointments may also involve refilling any necessary supplies.
Healing & Education
Stages
Surgery Day. This is the day that marks the beginning of your journey and the healing period can begin.
First Dressing Change. Your physician or physician’s assistant will typically visit you 2-4 days post-op for an initial dressing change and wound check. This is a routine check to make sure the skin is healing correctly and is not showing any signs of infection. Please note that the information provided may change based on guidance from your physician.
Inpatient Physical Therapy. You will work on specific exercises to strengthen your limb and prepare for the fitting process. Consult your physical therapist for specific exercises.
Getting Started. You will coordinate a follow up appointment with your surgeon’s office to see them in person 3-6 weeks after your surgery to determine your suture removal. Specific timeframes are determined in a case by case basis. Your physician and clinical team member may focus on limb shape at this stage.
Treatment. Following your doctor's instructions, a member of our clinical team may fit a shrinker sock on your residual limb when the time is right. The shrinker sock helps shape your limb and prepare you for the prosthetic fitting process.
Your Healing Journey: Important Tips
Everyone's healing journey is unique. We are here to help you through this process and answer your questions.
If your physician has prescribed a limb protector be sure to wear it as directed to prevent injury.Maintain range of motion and strength. Keep your leg elevated and extended as much as possible, and move safely with your wheelchair or walker.
Phantom Limb Sensation: You might experience phantom limb pain or sensation, which is the feeling that your missing limb is still there. This is a common occurrence that often lessens over time.
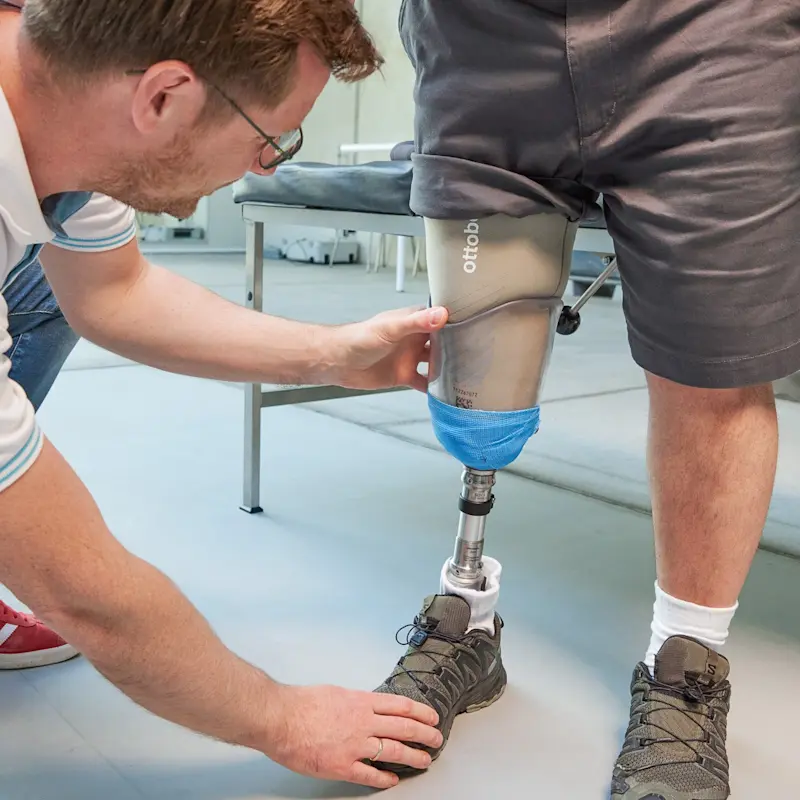
Fitting
This period begins the day the sutures are removed and you are fitted with a compression device “shrinker sock” to reduce swelling, which will allow for a more consistent fit.
Stages
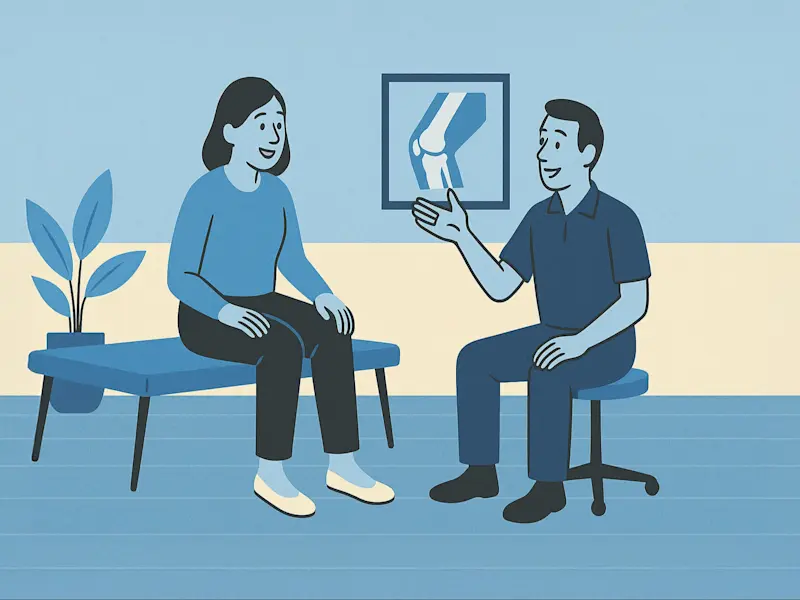
Initial Evaluation. After approximately 7-10 days of shrinker usage, you will come into our office for an initial evaluation and functional assessment with a practitioner. Consider bringing shorts to every appointment for easier access to your limb.
Casting. Measurements and a mold (cast) of your limb will be taken. This mold will produce a replica of your limb. This replica will be the foundation from which your prosthesis will be built.
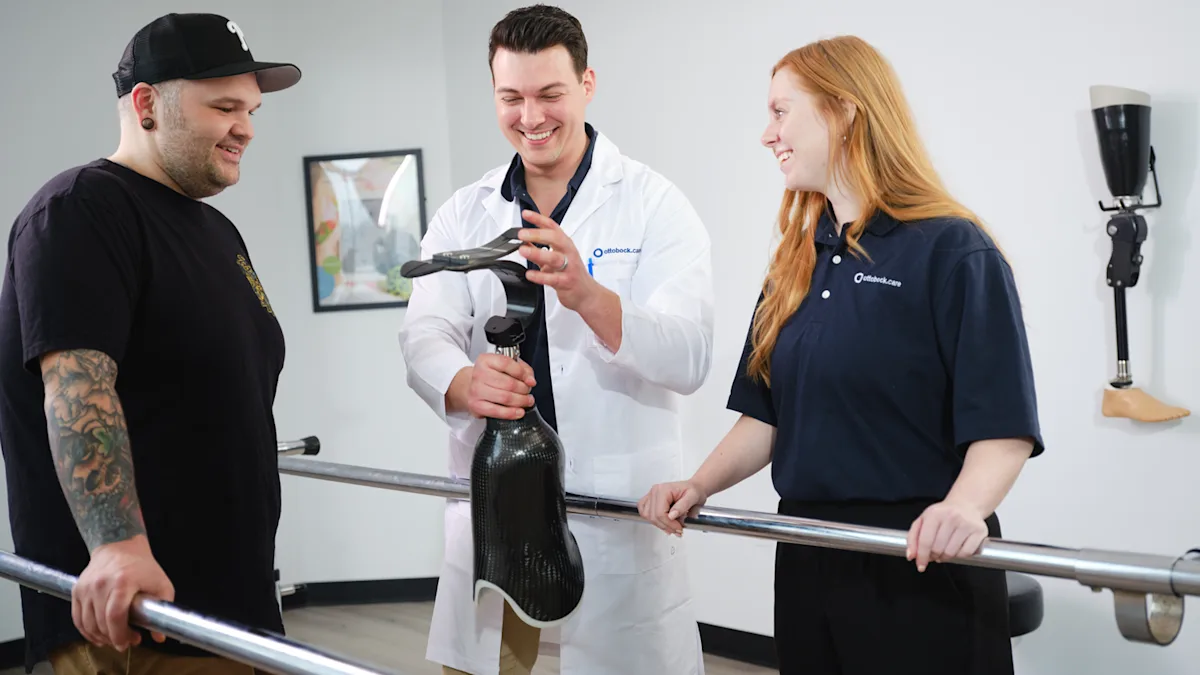
Test Socket. A clear test socket (a diagnostic tool used to ensure a proper fit) will be fit to your limb. We utilize as many test sockets as needed to ensure an optimal fit.
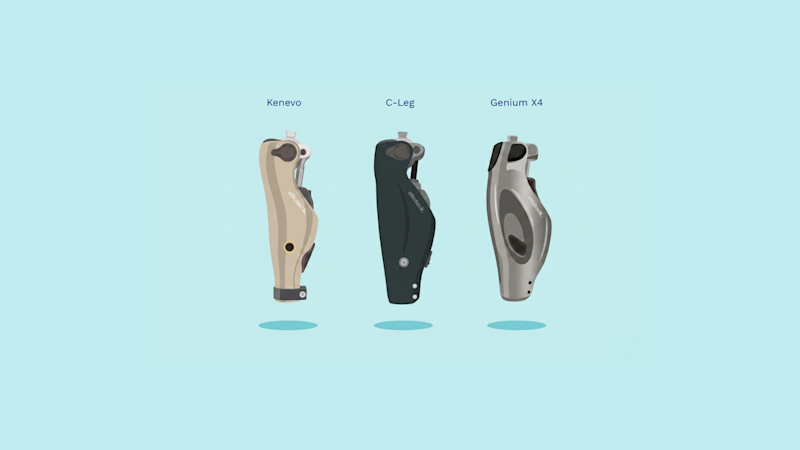
Dynamic Alignment. The mold is duplicated into a more structurally sound material which will be attached to the other components of your prosthesis, such as the knee and/or foot. You will begin to test the prosthesis in the clinic and your clinician will work with you to determine your alignment needs.
Delivery. At this appointment, the alignment and fitting are fine-tuned to optimize comfort and function of your prosthesis. Ottobock.care will work with your physical therapist to establish a wearing schedule to prevent over usage and abnormal gait habits. To start, we recommend using your prosthesis under the supervision of your physical therapist.
Points to Remember
At this stage, our focus will be on the fit and function of the device. Cosmetics may be added once proper fit and function are achieved.
Keep working on your physical therapy during the fitting period. When the fitting day arrives, it is important that strength and endurance are at an optimal level.
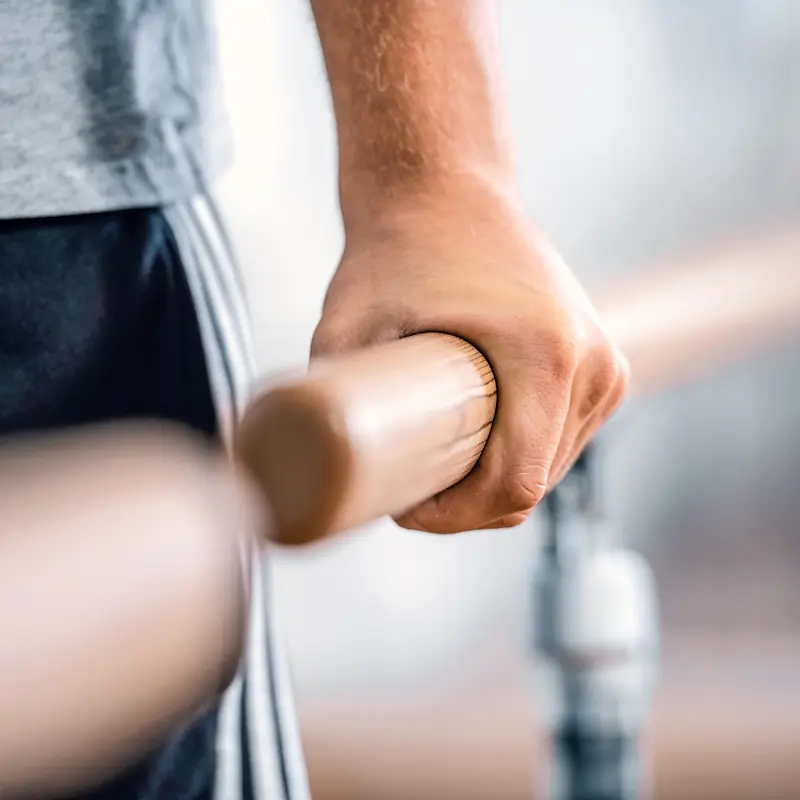
Training
Stages
Physical Therapy. Your practitioner may refer you to a physical therapist where you will continue your Outpatient Physical Therapy training.
Gait Training. Schedule a time to work with your physical therapist for gait training once you know the delivery date of your prosthesis. Bring fitting socks with you to therapy appointments.
Follow Up. It is perfectly normal for your limb to react by changing in both size and shape. As changes occur please don't hesitate to follow up with your practitioner for adjustments.
From Fitting to Function: Preparing for Your Prosthetic Journey
At our Ottobock.care facilities, we're committed to your success. That's why we have specialized areas equipped to help you practice taking your first steps with your new prosthesis.
What to Wear: For a smooth and comfortable fitting process, it's helpful to wear shorts to your appointment.
Maximizing Your Recovery: Studies show that patients who participate in physical therapy after receiving their prosthesis tend to have better overall outcomes and achieve their mobility goals faster. We'll be happy to discuss physical therapy options with you.
Get a Consultation
Are you ready to take the next step towards improved mobility and comfort? Find an orthotics and prosthetics clinic near you and schedule your appointment today!